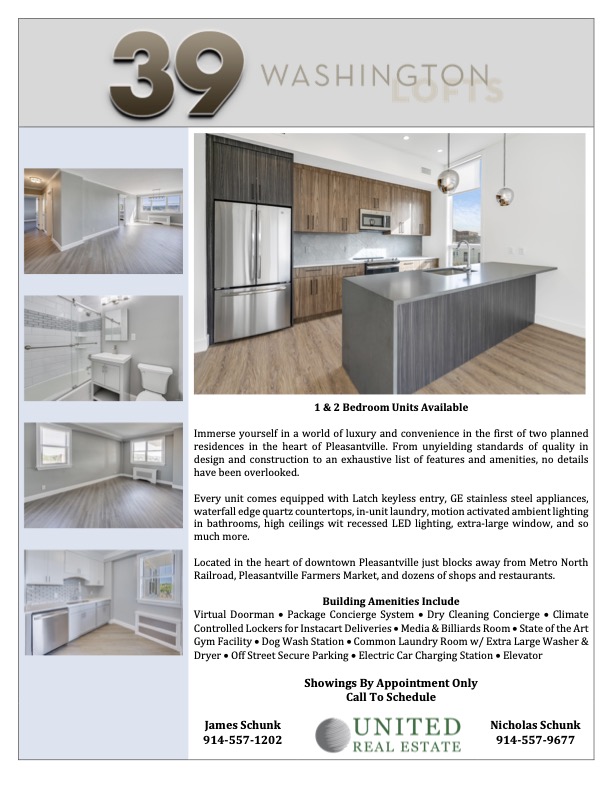
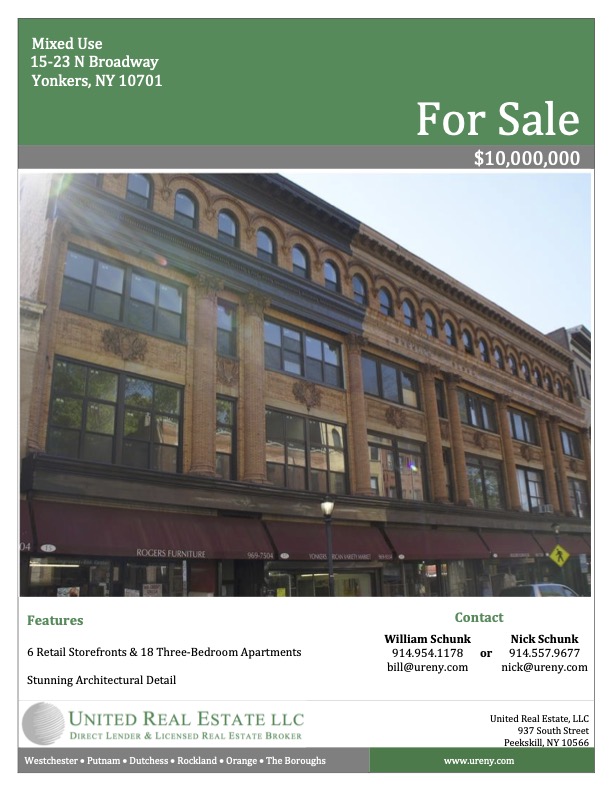
Listing Flyers

Route Folders
The Route Folder is a unique marketing packet that can be distributed to local businesses and public services in your target market area. You can simply call the office and ask us to prepare them for you, or you can print all of the documents right from here to make your own.
Every Door Direct Mail (Bulk)
STEP 1: DESIGN YOUR MAILER
Template 1 6.5′ x 9′ | Template 2 6.5′ x 9′ |
Template 3 6.5′ x 9′ | Template 4 6.5′ x 9′ |
STEP 2: ORDER YOUR MAILERS
- Visit our preferred printer at the website linked in the image above.
- Select the appropriate postcard size (indicated beneath the template you selected above) and quantity for your order, then select “Start My Order”
- Under “select your options” make the following choices:
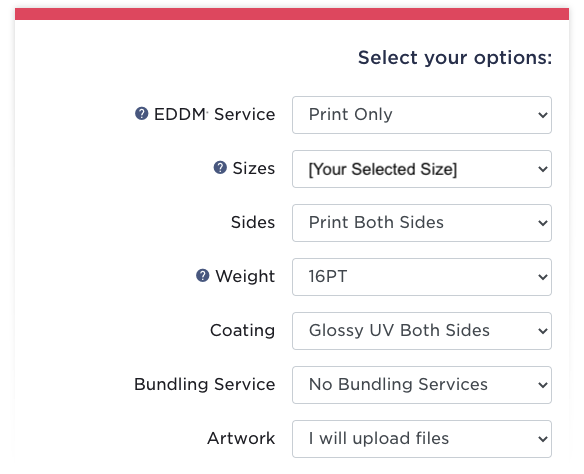
- Hit “proceed to next step” and choose your shipping and billing preferences.
- Wait for your flyers to arrive before moving on to STEP 3.
STEP 3: SELECT YOUR MAILING ROUTES
- Visit the EDDM route selector on the USPS website linked in the image above.
- Enter the zip code (or zip codes separated by commas) for the areas where you would like to send your mailers and hit “search”.
- The map will zoom in to your selected markets with routes shown in pink and PO Boxes shown as red balloons. Scrolling over the route with your cursor will show how many addresses are in each route and what the delivery cost is for that route. Clicking on a route will highlight it in blue and add it to your cart. The total number of addresses and total delivery cost will update on the right side of the screen every time you add a route.
- When you have selected all of the routes you want, click “Next Step”. If you are not already signed in you will be asked to sign in or sign up if you don’t already have an account.
- On the next screen fill in your drop-off date (the date you plan to bring the flyers to the post office), select a company/mailer name under payment options and check the second box which reads “*I have read…”) and choose to either pay at the post office or online.
- After completing your payment options you can print the facing slips and transaction summary pages. When printing the facing slips you will need one copy for every 100 households on each route.
STEP 4: MAILING THE FLYERS
- Organize your flyers into stacks of 100 and rubber band a facing slip to each stack. The last stack in each route will typically be less than 100, which is ok.
- Bring the labeled stacks and transaction summary to the appropriate post office. The postal clerk will be able to take it from there.
TIPS FOR SUCCESS
Bulk mailing campaigns require repeated exposure to achieve the best success. Plan to reach out to the same market at least 3 times in a year for a better response rate.
When designing your flyer make sure that the most important information is the most visible (your photo, name, phone number, email address, and our company name).